
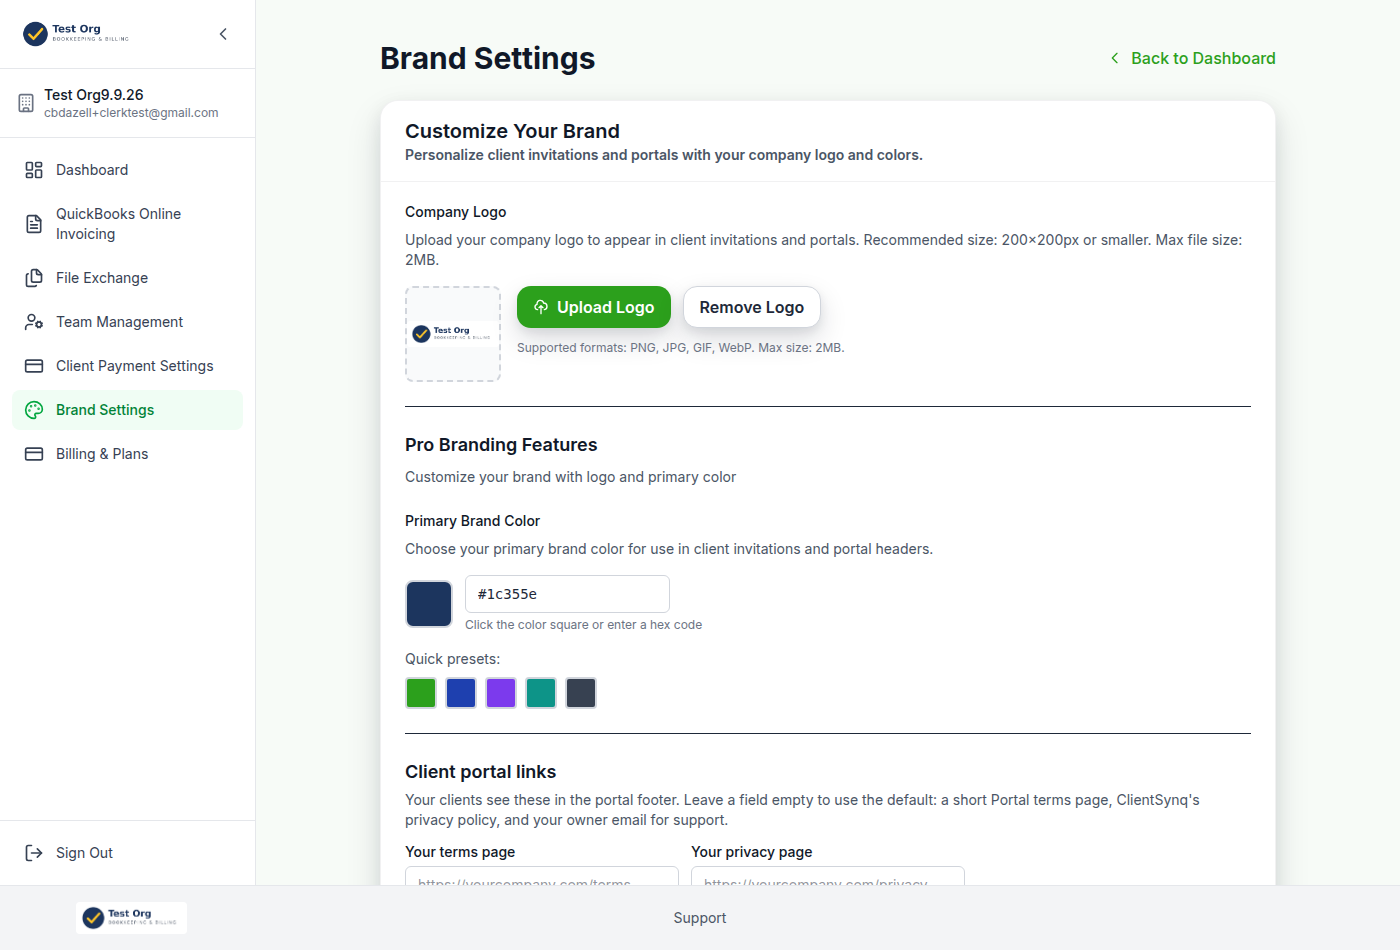
Your logos, colors and fonts appear in the portal your team uses, the portal your clients use, and the emails your clients get. You set them on the Brand page: open Settings (under your name, bottom left of the sidebar), then Brand.
Before you start
- Branding is part of the Pro or Enterprise plan. The Enterprise brand kit section (secondary and accent colors, fonts, brand import, white label, your own domains) shows on Pro too, greyed out, with a note on what each part does.
- You need the Manage Branding permission (Roles page, Settings group). The owner always has it.
- Have your logos ready as PNG, JPG, GIF, WebP or SVG files of 2MB or less.
Upload your logos
Under Logos there are three slots:
- Full logo: your mark with the organization name, wide, for light backgrounds.
- Mark only: the symbol alone, square. Used in collapsed sidebars and for the browser icon.
- Dark-background version: light artwork on a transparent background, for dark surfaces.
Click Upload in a slot and choose the file. Uploads are stored right away; Remove takes effect when you save. You do not need all three: a slot that is empty borrows from another, so one logo still shows everywhere.
Choose where each logo shows
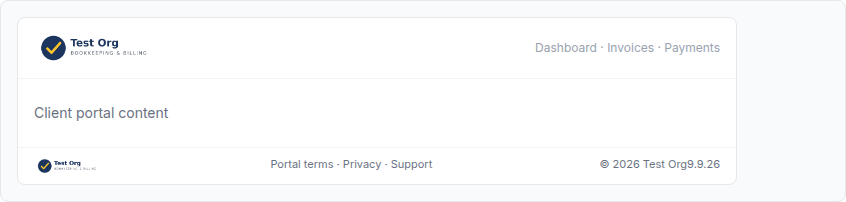
Under Where each logo shows, each placement has a list: Staff sidebar, Client sidebar (expanded), Client sidebar (collapsed), Footer, Email header, Login page and Browser icon. Pick the slot for each. The defaults are the full logo everywhere except the collapsed sidebar and the browser icon, which use the mark. A placement whose slot is empty shows the next best slot, greyed in the list so you can see it.
The Browser icon set (favicon, Apple touch icon and app icons) is generated from the slot you choose for Browser icon when you save.
Set the logo size
Drag the Sidebar logo size slider. It runs from 50% to 200% of the default height and applies to both the staff and the client sidebar.
Choose your colors
Each color says where it shows:
- Primary color (Pro and Enterprise): buttons, links and the active sidebar item in both portals, the email buttons, the sign-in button and the browser theme color. Click the color square or type a hex code, or click a Quick preset.
- Secondary color (Enterprise): the page background of the client portal and the sign-in page.
- Accent color (Enterprise): links and highlights in the client portal and the link color in emails.
Under each color, a note tells you how white text reads on it. Below 4.5:1 you see a warning that button labels will be harder to read; you can still save.
Choose your fonts (Enterprise)
Pick a Heading font and a Body font from the Google Fonts list. They load for every viewer; nobody installs anything. If your brand font is not in the list, type its name under Have a brand font that is not in the list? to see the nearest free match (for example Avenir → Nunito Sans, Liberator → Bebas Neue) and apply it with one click.
Preview and save
The Preview area has four tabs:
- Portals and Sign-in show your unsaved changes: the chosen logo slots, colors and fonts, in the client portal and the staff portal.
- Invitation email and Receipt email show the real email templates with your saved branding. Save first to see a change there.
When you are done, click Save Brand Settings at the bottom of the page. You see Brand settings saved.
Good to know
- Enterprise organizations can also pull colors and a logo from a website or a PDF brand guide. See Import your brand from a website or brand guide.
- The footer links your clients see (terms, privacy, support) are on the same page. See Set your client portal links.